As things age, sometimes they need a little face lift. With a vintage camper, it's a bit tougher to decide what to do. Do you totally overhaul everything with a new look and feel? Or do you try to restore to original beauty? While my primary focus had been updates to the electrical system, I decided to use my new found energy and tackle some other things on the list.
Curtains
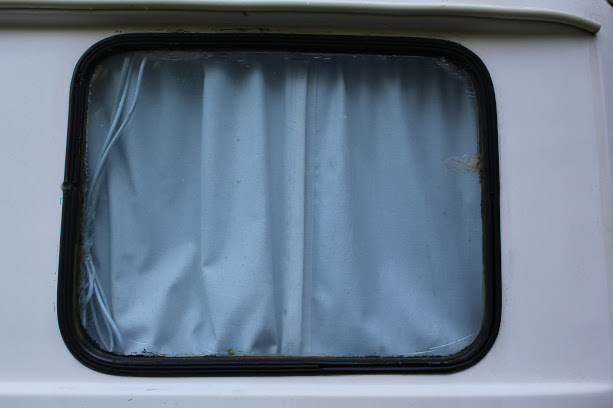
One of the first things we decided on was a color scheme. Originally, we started with a brown theme for the main bed and fun kid theme for the bunks. We had moved to wanting a more gray and white theme. My wife worked on bedding, sewing some throw pillows, and making new curtains (our 3rd set of curtains). For the curtains, she decided to use cloth shower curtain material since it holds up better to the moisture. Since we live in humid Georgia, and if the camper is closed up for a period of time, moister can build up from the fiberglass walls sweating. We definitely had a set of curtains get ruined by mildew in the past over a winter. I've since used damprid and sometimes a humidifier over the winter in there to try to keep it dryer. She found a shower curtain with a pattern she liked, cut it up, and made new curtains. We used 1 inch rings. I removed the rings and used the hooks with the clamps to hang on the original curtain wires. We got rid of the bottom wires and only use the top wire for hanging curtains now because it makes them easier to move.
Bedding


The bunk beds (see previous post on original makeover for smaller kids) have gotten a lot of use with our kids. As they've grown, we've needed to adjust the space a little bit. They got new bedding to go with their new lighting we'd added (see post on lighting updates). We originally had a piece of fabric between the two posts to keep our daughter from rolling out in the night. Now that she's older, crawling into her cave from the end was becoming a bit more challenging. So we removed that and I reused one of the lower curtain wires to string across the top of the posts. My wife sewed two small curtains with ties attached that can be tied to each post or untied and closed for privacy. Our daughter enjoys being able to enter the bottom bunk from between the posts now and still having her private cave.
Cabinets and Closets

In trying to find a balance between keeping the original feel/charm and updating, I opted to keep the cabinet and closet doors and paint them. I used Rustoleum Painters Touch spray paint in Satin Granite. I am really happy with the way they turned out. They look fresh and you can still see the texture and U-haul name on them. I also replaced the hinges which were starting to rust. The screw holes for the new hinges were just a bit off but the way they cover the old holes it wasn't a problem for me. I went with stainless steel which are a bit more but should hold up for a long time. I also spray painted the upper cabinet inserts and added lighting (see my post on lighting for how I did that).

I decided to update the closet while I was at it. We've had a 3 drawer plastic thing in there for years, but I wanted something a bit more stable. I wanted to use small clear containers with lids to organize so i could easily see what was inside and have some flexibility with the storage. When doing the lighting updates, I'd put some wood inside the closet to drill into and hold the lights. I took those down and cut some 3/4 inch plywood to form sides and then used some 1/2 inch wood to make shelves. Going with the theme, I painted them the same Satin Granite.
In an attempt to maximize storage, I removed the old propane heater. It was problematic and loud. This left a large area under the closet that I could work with. I installed a ClosetMaid 11-inch wide organizer that slides on a track. This organizer is 20 inches deep and has a ton of room in it. Since it slides, it also is easy to access.
Counter

The biggest project by far was the counter. I crafted a wood counter top to fit over the fiberglass counter. I had previously purchased a new Dometic SMEV PI8022 stove years ago. The new stove sinks down into the counter and has a glass top that closes over it to provide additional counter space. It also makes the space feel bigger since there's more room between the top of the stove and the hood. The old hood was rusting and had electrical issues so I replaced it with a new hood.
Since I had to cut the bolts off the original sink and it was showing signs of wear, I opted to buy a new one that was the same size. The one I bought also came with the drain hardware but it was plastic not stainless. So I went to Lowes and bought a Stainless Steel drain with a strainer/basket to install. I also decided to upgrade the faucet. The old 2-way faucet is the normal one found in pop-up campers. It's designed to pump manually for onboard water, or hold down when city water is hooked up. Since we don't use the onboard water tank, I wanted to install a nice looking faucet that would work with city water. (If I ever decide to use the onboard, I'll look into an electric water pump.) This opens up the realm of faucets to anything on the market for homes too. I found that a bar faucet is the perfect size. It's not a full size kitchen faucet that's super tall, and not a tiny bathroom faucet. It's the Goldilocks faucet. When installing a new faucet, you need to be aware if you have hot water or not. We don't, so that meant I had 2 options for the hot water feed line: cap it off or connect it with a T connector to the cold water line. I opted for the second option since it would allow the water to flow through both lines no matter whether the handle was directed towards hot or cold. If you opt to cap the hot water line, you will find you need to adjust the handle to full cold to get maximum flow.
I'm really glad that life slowed down enough to get some updates done. We're happy with the results so far and will continue working on our list of things we'd like to update. I'm investigating adding air conditioning to the camper to make it more usable in the hot, muggy southern summer months and there's a few more electrical updates I'd like to tackle. More to come...